I've been generating music with Suno AI for months now, and I'll admit it—the first time I hit 'create' and heard a fully arranged track materialize from a text prompt, I felt like a wizard. But that magic wore off fast the moment I started actually listening. Really listening. That's when I heard it: a thin, metallic sheen coating everything, like someone wrapped my song in cheap aluminum foil. A digital warble on the vocals that made the singer sound like they were performing inside a malfunctioning synthesizer. High frequencies that didn't just sparkle—they screamed 'I AM NOT REAL.' These are the artifacts, the telltale artifacts that Suno AI, especially v5, leaves all over your tracks. They're the reason your AI-generated masterpiece sounds... well, AI-generated. I'm not here to sell you a miracle cure, but I've spent enough hours in the trenches—bouncing stems, tweaking EQs, cursing at spectrograms—to assemble a workflow that actually works. This is what I do when I want my Suno tracks to stop sounding like they were born in a server farm and start sounding like actual music.
In short: The biggest win is using Suno's 'Get Stems' feature to isolate problem tracks, then hitting them with Studio Mode's artifact reduction—but go light, or you'll kill the life in the song. For deeper issues, you'll need a DAW and tools like iZotope RX or the free Deshimmer plugin. Bring a good pair of headphones—cheap laptop speakers won't reveal the artifacts you're hunting. Budget-wise, the free route (Audacity + Deshimmer) works, but Adobe Podcast Enhance ($10/month) is a cheat code for vocals. Main advice: never try to clean the entire mixed track at once. Work stem by stem, frequency by frequency, or you'll just turn music into mush.
What Are Suno Artifacts? Identifying the Unwanted Sounds
Before you can kill the monsters, you need to know what they look like. Suno's artifacts aren't subtle—they're just easy to ignore if you're not paying attention, or if you're playing back through a phone speaker while doing dishes. But put on a decent pair of headphones, solo a vocal stem, and there it is: a constellation of digital grime.
The digital warble is the first offender. It's that slight, unnatural quavering on sustained notes, like the pitch is vibrating but not in a musical way—more like the AI couldn't quite decide what frequency to commit to and is hedging its bets. You hear it most on long vowels in vocals or on synth pads. It's subtle, but once you notice it, it's everywhere.
Then there's the metallic shimmer, affectionately known in some circles as the 'Suno shimmer' or 'birdies.' This one lives in the 5 to 7 kHz range and sounds like someone sprinkled digital glitter all over your mix. It's a high-frequency, glassy, crystalline noise that has no business being there. Not the good kind of sparkle that makes a snare drum pop—the bad kind that makes your track sound like it's being played through a corroded speaker cone.
The swishy highs are another flavor of hell. Imagine a constant layer of thin, hissy noise sitting on top of everything, like a low-bitrate MP3 from 2003. Sibilance that sounds unnatural, 's' sounds that cut like razors, a background wash of high-frequency garbage that shouldn't be there. It's the sound of artificiality.
And finally, there's what I call digital air—the unnatural silence. Real recordings have warmth, even in the quiet parts. Room tone, tape hiss, the hum of an amp. Suno's silence is sterile, dead, and often filled with a weird, thin noise floor that doesn't sound like anything organic. The classic fix for this is a hard cut at 16 kHz, just lopping off the top end entirely, and honestly? It works more often than it doesn't.
These artifacts are byproducts of the generation process, the AI's version of a typo. They're especially common in v5 and earlier versions, and they're why your track, no matter how good the composition is, will always sound 'off' until you deal with them.
Step 1: Isolate Problems with Stem Separation in Suno
The single most important step in this entire process is also the easiest: don't try to fix the whole song at once. Artifacts are rarely spread evenly across a mix. Maybe it's just the hi-hats that sound like they're made of tinfoil. Maybe the vocal is clean but the reverb tail is full of digital nonsense. You can't know until you separate everything out and listen.
Here's how you do it. First, navigate to your Library on the left sidebar in Suno AI. Find the track that's driving you crazy. Click the three dots next to it—the little menu that nobody ever uses for anything else. In the dropdown, select Get Stems. A window will pop up asking you what you want. Ignore the temptation to just grab 'Vocal and Instrumental'—that's for lazy people. Choose All Detected Stems. This will give you up to twelve individual tracks: vocals, drums, bass, synths, whatever Suno's AI decided your song was made of.
Now you have control. You can solo each stem, listen in isolation, and pinpoint exactly where the artifacts are hiding. Maybe the vocal is pristine but the synth pad sounds like it's being played on a broken Casio. Maybe the kick drum is fine but the snare has that metallic ring. Knowing this saves you from the nightmare of applying a heavy-handed effect to the entire mix and wondering why everything sounds lifeless afterward. Stem separation is not optional. It's the foundation of the entire workflow.
Step 2: Basic Cleaning with Suno's Built-in Studio Tools
Once you've got your stems, Suno opens them in Studio Mode, which is where the platform's built-in cleanup tools live. These tools are not going to win any awards for sophistication, but they're also not useless. The trick is knowing how to use them without turning your music into oatmeal.
Start by using the Solo button on each stem. Listen for the artifacts you identified earlier—the warble, the shimmer, the swishy highs. When you find a problem stem, you've got a few options: General Artifact Reduction, Noise and Room Cleanup, Transient Smoothing, Clarity Adjustments, and De-Essing. The names are self-explanatory, which is nice, but the sliders are dangerously easy to overuse.
Here's the part where I tell you what I learned the hard way. Start conservatively. If there's a slider, don't push it past halfway on your first pass. Make small adjustments—tiny increments—and then do an A/B test. Toggle the effect on and off. Does the stem sound better, or does it just sound duller? Because dulling the sound is easy. Making it better is hard. If you push too hard on Artifact Reduction, you'll suck the life out of the track. The vocal will sound like it's coming from underwater. The drums will lose their punch. You'll have removed the artifact, technically, but you'll also have removed everything that made the music interesting.
If a stem starts to sound flat or lifeless, ease back the intensity. Try working with narrower frequency ranges instead of applying a broad cut across the entire spectrum. And for the love of all that's holy, preserve headroom. Keep the ceiling conservative. You're going to be recombining these stems later, and if you've already pushed everything to the limit here, you'll have no room left for the final mix. You'll just end up with distortion and clipping, which is a whole new problem.
De-Essing is particularly useful if your vocal has sharp 's' sounds that cut like glass. But again—light touch. The goal is to tame, not to eliminate. You want the sibilance to sound natural, not like the singer has a speech impediment.
Step 3: Advanced Post-Processing in an External DAW
Studio Mode is where you start, but it's rarely where you finish. When Suno's tools aren't enough—and they often aren't—you need to move to a Digital Audio Workstation. I use Ableton, but this works just as well in Logic, FL Studio, or even the free option, Audacity. The concept is the same: you export the stems from Suno, load them into your DAW, and get surgical.
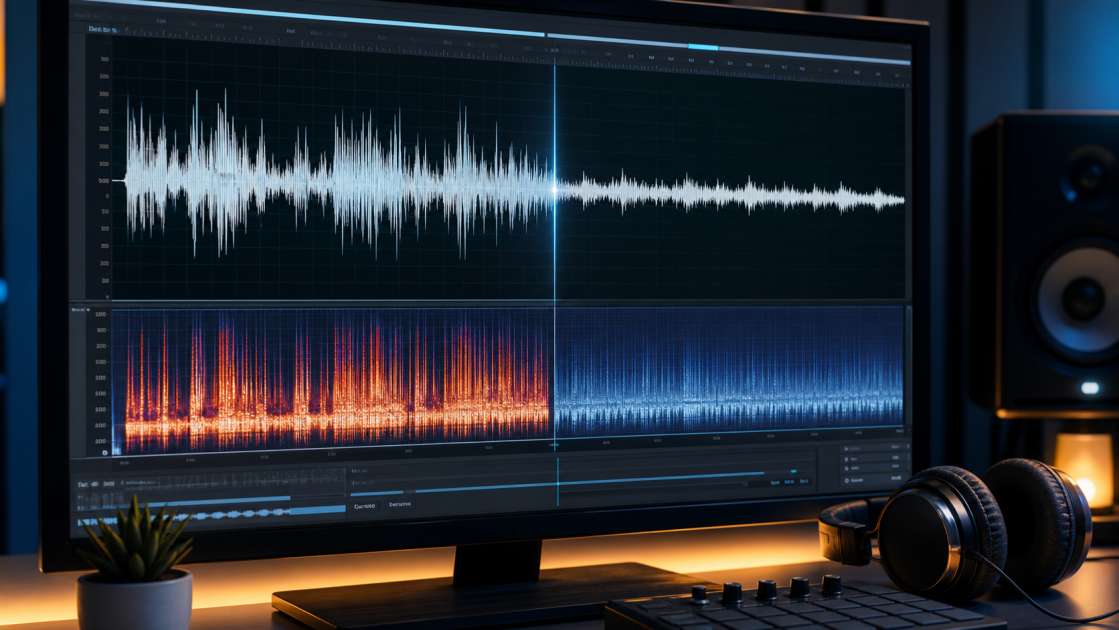
For glitches and random clicks, spectral repair is your best friend. Tools like iZotope RX let you visually identify problems on a spectrogram—little blobs of noise that shouldn't be there—and literally paint them out. The software interpolates clean audio in their place. It's like Photoshop for sound, and it works shockingly well. I've removed entire stretches of digital garbage this way, and the listener never knows it was there.
For frequency-specific problems—like that 6 kHz shimmer—you need a parametric EQ. Load one up, create a narrow band, and sweep through the frequencies while the track is playing. You'll hear the artifact get louder at a specific point. When you find it, cut it. Not a broad, gentle slope—a sharp, surgical cut. This removes the problem without touching the rest of the spectrum. It's the difference between removing a splinter and amputating a limb.
If you're dealing with a constant hiss or background noise, apply a denoise plugin to the stem. The key here is setting the threshold carefully. Too low, and you won't remove anything. Too high, and the track will sound dull and lifeless, like you wrapped it in a blanket. I usually start conservative and inch the threshold up until the noise disappears but the music still sounds alive.
For isolated clicks or pops, you don't even need a plugin. Just zoom into the waveform, find the offending moment, and draw a quick volume dip with automation. It takes five seconds and works every time.
And then there's the 16 kHz cut, which is so simple it feels like cheating. Open any EQ—Audacity's Filter Curve EQ works fine—and create a sharp low-pass filter at 16,000 Hz. This removes the fake 'digital air' that makes AI audio sound sterile and unnatural. Most people can't even hear above 16 kHz anyway, so you're not losing anything musical. You're just cutting out the noise that was never supposed to be there.
Step 4: Using Specialized Artifact Removal Tools
Sometimes you need a specialist, and for AI artifacts, there are a few tools that do nothing else. They're built specifically to hunt down and kill the problems Suno creates.
If you're cleaning up vocals, Adobe Podcast Enhance is absurdly effective. Upload the vocal stem, set the enhancement slider to around 50%, and let it run. The results are almost always better than anything you'd get manually. It smooths out the rough edges, tames the harshness, and makes the vocal sound like it came from a real studio. I was skeptical the first time I used it. I'm not anymore.
For the shimmer specifically, there's Deshimmer, an open-source tool from TheApeMachine. It's designed to target the 5 to 7 kHz zone where Suno's artifacts live. The interface is a Gradio UI, which means you can tweak settings interactively and preview the changes before committing. It even has a 'diff' feature that lets you hear exactly what was removed, which is useful if you're paranoid about losing musical content along with the artifacts. I've used it on synth stems that were drowning in shimmer, and it works. Not perfectly, but well enough that the track stops sounding like a broken music box.
Then there's Undetectr, a commercial option that promises to reduce the obvious synthetic harshness in generated tracks. I haven't used it extensively, but the pitch is appealing: a lifetime plan, bulk downloads for Suno songs, and a simple interface that doesn't require you to understand spectral processing or phase randomization. It's for people who want results without the learning curve, and there's no shame in that.
Step 5: Final Mix, Normalization, and Mastering
After you've cleaned the stems individually, you have to put them back together, and this is where a lot of people screw up. You can't just stack the cleaned stems and call it done. You need to balance them.
For the mix, make sure the vocal sits properly in the track. If it's too loud—and it often is after cleaning, because you've removed all the mud that was obscuring it—pull down the instrumental by a few dB. I usually start with -2 dB and adjust from there. The goal is cohesion, not just loudness.
For normalization, use Loudness Normalization with a target of -14 LUFS, which is the standard for most streaming platforms. Set the peak normalization to -1.0 dB to leave a bit of headroom and avoid clipping on devices with poor DACs—phones, cheap Bluetooth speakers, the kinds of things people actually listen to music on. If you don't do this, your track might sound fine on your studio monitors and then distort horribly the moment someone plays it on their iPhone.
For mastering, aim for a True Peak of around -10 dB. This is a safe target that ensures compatibility everywhere—streaming services, downloads, social media, whatever. It's not the loudest your track could be, but it's loud enough, and it won't explode into distortion the moment someone turns up the volume.
The Quickest Fix: When to Simply Regenerate Your Track
Here's the part where I tell you that sometimes, the smartest move is to just start over. If you've spent three hours cleaning a stem and it still sounds like garbage, go back to Suno and hit Regenerate. The AI might give you a cleaner version on the next roll of the dice. I've had tracks that were unusable on the first generation and flawless on the third. It's random, but it's also fast.
You can also try tweaking your prompt. A small change—different genre tags, a slightly different description—can lead to a completely different generation, and sometimes that new version doesn't have the artifacts the first one did. It's not a guaranteed fix, but it's worth trying before you commit to hours of manual cleanup.
Another tactic: generate several variations of the same song idea and compare them. Listen to the stems individually. Often, one version will be significantly cleaner than the others. Use that one. You're not cheating—you're just working smart instead of working hard.
Summary: Your Complete Workflow for Flawless AI Music
The workflow is simple in theory, brutal in execution. First, separate: use Get Stems in Suno to break the track into individual components. Second, clean in-app: use Studio Mode's tools conservatively, with constant A/B testing to make sure you're improving the sound and not just dulling it. Third, process externally: use a DAW or specialized tools like iZotope RX, Deshimmer, or Adobe Podcast Enhance to tackle the problems Suno couldn't fix. Fourth, master: mix the cleaned stems, normalize to a safe peak, and prepare the track for distribution.
The single most important rule, the one I'll repeat until it's tattooed on your brain, is this: never try to clean the entire song in one go. Work stem by stem. Work frequency by frequency. Isolate the problem, fix the problem, and leave everything else alone. Anything else is guesswork, and guesswork in audio processing is how you end up with a track that sounds worse than when you started.
The tools exist. The workflow works. Whether you have the patience to follow it is another question entirely, but if you do, your AI-generated music will stop announcing itself as AI-generated the moment someone presses play. And that, in the end, is the whole point.