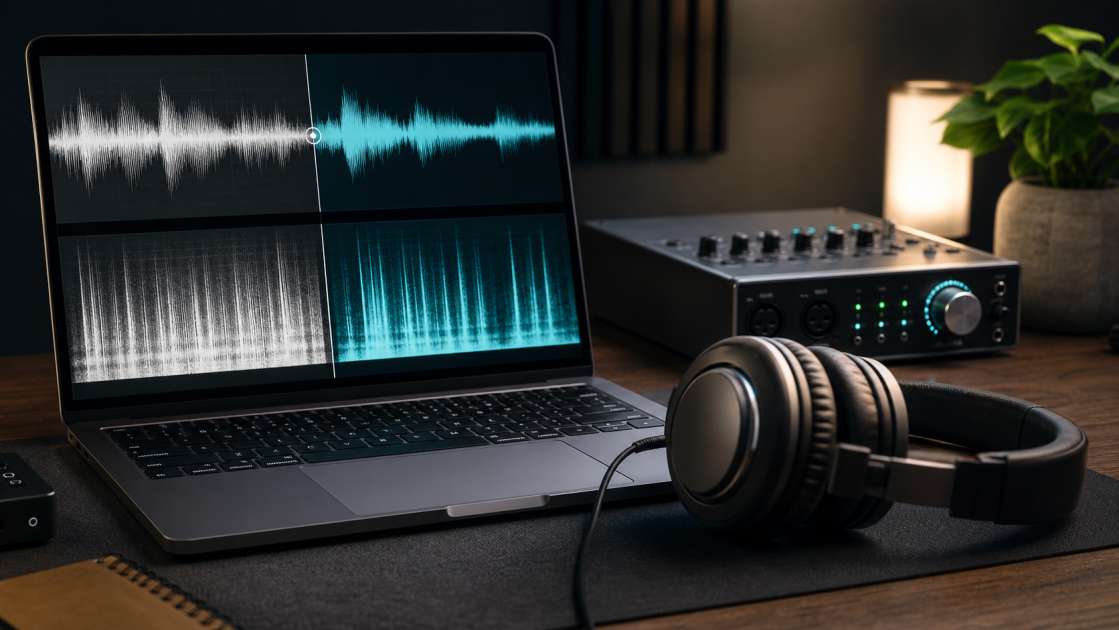
You spend twenty minutes tweaking prompts in Suno, hitting regenerate until the melody finally clicks. The chorus lands perfectly, the verses flow, and for a brief moment you feel like a genius. Then you put on headphones and hear it: that thin, metallic sheen coating the vocals like cheap chrome. Or maybe it's a reverb tail so long it sounds like the singer is performing inside a cathedral-sized bathroom. The song is good, but it sounds wrong. That's the curse of AI artifacts — digital ghosts that haunt every generated track, turning your would-be masterpiece into something that screams "I was made by an algorithm." The frustrating part? Most people think these are permanent scars, part of the deal you accept when you use AI music tools. They're not.
In short: The biggest offender is usually excessive reverb and a metallic vocal quality. The fastest fix is Suno's own "Remove Effects" button in Studio v1.2, which strips out reverb in one click. For serious cleaning, use AI Music Cleaner by Tembrica or manually separate stems and process them in Audacity with saturation, EQ cuts above 16 kHz, and a De-Esser. Bring good headphones to hear what you're actually fixing. Budget around zero dollars for basic methods, maybe $10-20 if you subscribe to premium stem separation services. Main tip: never process the full track at once — always split vocals from instrumentals first, or you'll end up with mud.
The Easiest Fix: Using Suno's Built-in 'Remove Effects' Feature
Suno Studio v1.2 dropped a button that feels almost too simple to work, except it does. It's called "Remove Effects," and it sits there on your generated track like a dare. Click it. That's the whole process. No downloads, no third-party accounts, no watching a thirty-minute YouTube tutorial where someone spends the first ten minutes begging you to subscribe. The button targets the excessive reverb and delay that Suno loves to slather on everything, especially vocals, and strips them out. What you get back is a drier vocal track — closer to an acapella — and a re-synthesized instrumental that's lost most of that swimmy, underwater quality AI tracks tend to have.
I tested this on a rock track that sounded like it was recorded in a parking garage. One click, maybe fifteen seconds of processing, and the vocals suddenly had presence instead of drowning in their own echo. The instrumental stayed intact, no weird phase issues or artifacts introduced by the cleaning process itself. It's not a miracle worker — if your track has deep, baked-in digital noise, this won't erase it — but for the common problem of "why does my singer sound like they're performing from the bottom of a well," it's shockingly effective. The real advantage is speed. You're still inside Suno, no export-import dance, no learning curve. It's the kind of feature that should have existed from day one, and now that it does, there's no excuse not to use it before you do anything else.
Advanced Cleaning with a Dedicated Tool: AI Music Cleaner by Tembrica
If Suno's one-click solution doesn't cut deep enough, there's a service called AI Music Cleaner from Tembrica that exists solely to hunt down and kill the artifacts Suno, Udio, and Riffusion leave behind. It's not free, but it's also not expensive, and it works on a simple drag-and-drop interface that even your technophobic uncle could figure out. You upload your track, pick a restoration strength — they give you three options: Standard, Aggressive, or Light — and hit the button. I always start with Standard because Aggressive has a nasty habit of turning vocals into plastic, over-smoothing everything until it sounds like a bad autotune preset.
The processing takes maybe a minute, depending on the length of your track, and then it spits out an A/B comparison. You can toggle between the original and the cleaned version, which is useful because sometimes the "fix" introduces new problems — a slight loss of high-end sparkle, or a vocal that's now too dry and sits awkwardly in the mix. When it works well, though, the difference is immediate. That metallic sheen vanishes, the reverb tightens up, and the track starts to sound like it was made by a human who understands restraint. You can download the result in WAV, MP3, or FLAC, which means you're not stuck with a compressed mess if you want to do further editing. The Apollo model they use is supposedly trained specifically on AI-generated music, which explains why it's better at this than general-purpose noise reduction tools that just smear everything into mush.
Pro-Level Control: How to Manually Clean Tracks in a DAW (like Audacity)
If you want full control and don't mind spending an hour tinkering, the manual method is where you'll end up. This is the approach for people who can't stand the idea of an algorithm making decisions for them, even if that algorithm is trying to help. You'll need a DAW — I use Audacity because it's free and doesn't try to upsell me on plugins every five minutes — and a stem separation service like Lalal.ai or Moises.ai to split your Suno track into individual parts: vocals, bass, drums, everything isolated. This costs a bit if you go past the free tier, but it's worth it because trying to clean a full mix is like trying to paint a wall without taping off the trim. Messy and frustrating.
Once you have your stems, the first move is saturation. AI-generated music often sounds cold and sterile, like it was made in a laboratory by someone who's never heard of warmth. Adding a subtle saturation or overdrive effect — I'm talking minimal settings, just barely tickling the signal — introduces harmonic richness that tricks your ear into thinking the sound is more organic. Don't overdo it or you'll end up with distortion, which is not the same thing and will make your track sound worse, not better. Next is the EQ. Slap a high-cut filter on each stem and chop off everything above 16 or 17 kHz. This is where most of the digital noise and hiss lives, the high-frequency garbage that marks a track as AI-made. You won't miss those frequencies — human hearing barely registers them anyway — and the difference in clarity is immediate.
For vocals specifically, use a De-Esser to tame those harsh "S" and "Sh" sounds that cut through the mix like a dental drill. Suno loves to generate vocals with exaggerated sibilance, and a De-Esser smooths that out without making the singer sound like they have a lisp. If there's still a general hiss on the vocal track, a De-Hiss filter can help, though be careful not to strip out too much air or the vocal will sound muffled and lifeless. The final step is normalization. Export your edited project and normalize the volume to around -0.5 LUFS, which keeps it loud enough to compete with commercial tracks but leaves just enough headroom that it won't distort when someone plays it on their phone speaker. This whole process is tedious, yes, but it's also the only way to get exactly the result you want without compromising on someone else's algorithm.
Specifically Targeting Vocals: Using Adobe Podcast Enhance
If the instrumental sounds fine but the vocals are the problem — that metallic, robotic quality that makes it obvious a machine sang this — Adobe Podcast Enhance is the scalpel you need. It's a free tool Adobe built for cleaning up podcast recordings, but it turns out it's also excellent at fixing AI-generated vocals. The catch is you can't just dump your whole track into it. You need to separate the vocal stem first using Lalal.ai or whatever stem splitter you prefer, then upload only the acapella to Adobe's site. The interface has a single slider that controls how aggressively it processes the audio, and this is where people screw up.
Setting it to 100% will give you a vocal that sounds like it was run through a washing machine. Everything gets smoothed out, sure, but you lose all the character, all the little imperfections that make a voice sound human. I've found 50% is the sweet spot. It cleans up the metallic artifacts and tightens the tone without turning the singer into a virtual android. Once you download the enhanced vocal, bring it back into your DAW and mix it with the original instrumental stem. You'll probably need to adjust the levels a bit — the cleaned vocal often sits differently in the mix than the original — but the end result is a track where the voice finally sounds like it belongs in the same room as the music, not like it was beamed in from a different dimension.
The Golden Rules: How to Clean AI Music Without Killing the Song
The fastest way to ruin a track during the cleaning process is to attack the whole thing at once. Every tutorial tells you this, and yet people still ignore it and wonder why their song sounds worse after running it through some miracle noise reduction plugin. The first rule is separation. Always, always split your track into stems — at minimum, vocals and instrumental — before you start applying effects. This gives you control over what gets processed and how much. A vocal might need aggressive cleaning while the instrumental just needs a light high-frequency trim, and you can't achieve that balance if you're treating them as one blob of sound.
Second rule: start gentle. Whether you're using AI Music Cleaner, Adobe Podcast, or manual EQ in Audacity, begin with the lightest setting available. Standard mode, 50% slider, minimal saturation. You can always push harder if it's not enough, but you can't undo an overly aggressive effect that's sucked the life out of your track. I've killed more songs by being too enthusiastic with the De-Esser than I care to admit. Third, be surgical with your frequency cuts. Don't just chop everything above 15 kHz because you heard high frequencies are bad. Target the specific range where artifacts live — usually 16-17 kHz and up — and leave the rest alone. That "air" in the upper frequencies is what keeps a mix from sounding dull and claustrophobic.
The fourth and most effective rule: mix in something real. AI-generated music sounds artificial because it is, and no amount of cleaning will change the fundamental fact that an algorithm made it. But the moment you layer in a real element — a recorded shaker, a live guitar riff, even just some organic drum samples on top of the AI drums — the whole track shifts. It's no longer purely digital. The human element breaks the perfection, adds grit and unpredictability, and suddenly your Suno track sounds less like a tech demo and more like an actual song someone might want to listen to more than once.
Quick Guide: Which Cleaning Method Should You Choose?
If you need a fix right now and don't want to leave the Suno platform, hit that "Remove Effects" button in Studio v1.2. It's fast, it works, and it requires zero technical knowledge. You'll get a drier, more controllable track in under a minute, which is enough for most casual users who just want their song to stop sounding like it was recorded in a cave. For something more powerful but still automated, AI Music Cleaner from Tembrica is the move. Upload your track, pick Standard strength, let the Apollo model do its thing, and download the result in whatever format you need. It's a middle ground between convenience and quality, and it handles Suno, Udio, and Riffusion tracks equally well.
If only the vocals are driving you insane — that metallic, robotic tone that immediately gives away the AI origin — use Adobe Podcast Enhance on the isolated vocal stem. Set it to 50%, download the cleaned version, and mix it back with your instrumental. It's a targeted solution that doesn't mess with the rest of your track, and it's shockingly good at making voices sound human again. For the control freaks and audio nerds who want every detail perfect, the manual DAW method is your path. Separate stems, add light saturation, EQ out the high-frequency noise, De-Ess the vocals, normalize the final mix. It's the most work, but it's also the only way to get exactly the sound you hear in your head.
Honestly, the best approach is probably a combination. I usually start with Suno's Remove Effects to clean the obvious reverb mess, then run the vocal through Adobe Podcast at 50%, and finish with a manual EQ pass in Audacity to trim anything above 16.5 kHz that still sounds harsh. Experiment. Every track is different, every artifact pattern is unique, and what works for one song might overcook another. The goal isn't to erase all traces of AI — that's impossible and probably not even desirable — but to clean up the sound enough that the listener focuses on the music instead of wondering what software made it.