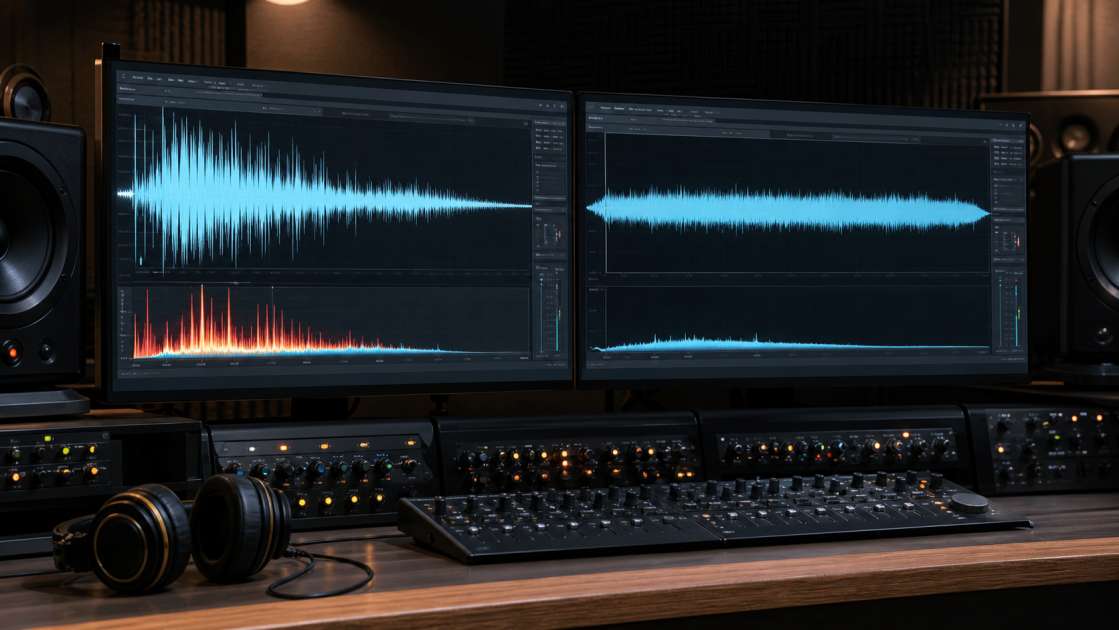
Suno AI spits out tracks in thirty seconds that would've taken a garage band three months to record. The technology feels like witchcraft until you export the file and realize the AI left you a parting gift: a high-frequency shimmer that sounds like someone's sprinkling digital glitter over your chorus, random clicks that punch through your snare hits, and a robotic warble on the vocals that makes your singer sound like they're gargling marbles. I've spent enough evenings squinting at spectrograms to know this isn't a bug—it's just the tax you pay for instant gratification.
In short: Suno creates music fast but leaves artifacts—shimmer, clicks, hiss, and robotic vocals. The three-stage fix involves post-production cleanup in a DAW using tools like iZotope RX or Audacity, smarter in-Suno generation strategies using stems and metatags, and careful final mastering that doesn't amplify the mess. Bring decent headphones for A/B testing. Budget around $0-$400 depending on whether you use free tools or spring for RX. The single best move: always download stems separately instead of processing the full stereo mix.
What Are Suno Audio Artifacts and Why Do They Happen?
The first time I heard the Suno shimmer, I thought my audio interface was dying. It's this faint, crystalline sparkling that sits around 5-7 kHz, like someone's shaking a tiny tambourine made of glass shards behind your mix. The AI doesn't know it's doing this—it's generating patterns that look right on paper but sound wrong in your skull. Harshness lives in that 2-7 kHz zone where your ears are most sensitive, making vocals sound like they're being sung through a cheese grater and turning cymbals into sheets of aluminum foil. I've had tracks where the snare was fine but the hi-hat sounded like it was recorded inside a hard drive.
Noise is the constant low-level hiss that creeps into the background, especially noticeable when the music drops out. It's not tape hiss—tape hiss has character. This is the sound of a machine thinking too hard, a digital static that makes quiet sections feel dirty. Then there are the glitches and clicks, those sharp little pops and crackles that show up at random. I once had a beautiful piano intro ruined by what sounded like someone tapping a microphone with a pen every four bars. The robotic warble is harder to describe—imagine your vocalist is singing while someone's gently shaking their head back and forth, or the reverb got smeared across the stereo field like someone spread it with a butter knife. And clipping, the old classic, happens when Suno pushes the volume too hard and the waveform gets its head chopped off, leaving you with a crunchy distortion that makes everything sound like it's being played through a broken guitar amp.
Stage 1: Post-Production Cleanup in a DAW
Processing the full stereo mix is like trying to perform surgery with oven mitts on. I learned this the hard way after spending two hours trying to EQ the harshness out of a rock track, only to realize I was also destroying the guitar that lived in the same frequency range. The answer: stems. Suno lets you split your track into separate channels—vocals, drums, bass, guitars, whatever it generated—and working on those individually is the difference between carpentry and demolition. I opened up a stem-separated vocal track in Audacity once and could finally see the shimmer as actual visual spikes in the spectrogram. It was like finding out your house has termites but at least now you know where they are.
The software hierarchy is pretty clear if you have money and pretty forgiving if you don't. iZotope RX is the tool that professional audio engineers use when they need to remove a cough from a million-dollar orchestral recording. It has a spectral repair function that lets you literally paint over artifacts in the frequency display like you're airbrushing out an ex from a photo. I don't own it because I'm not made of money, but I've used the trial and it felt like going from a flip phone to a smartphone. Audacity is free and surprisingly capable—it won't make you feel like a wizard, but it has a click removal tool that actually works and a noise reduction function that doesn't require a PhD to operate. Then there are the big DAWs: Ableton Live, Logic Pro, FL Studio. I use Ableton because I already knew where the knobs were, but they all do the same basic job of letting you automate, EQ, and process audio without crying.
For clicks and glitches, the spectral repair approach in RX is almost unfair. You zoom into the spectrogram, see the little burst of noise that's ruining your snare hit, select it with the mouse, and tell the software to fill in the gap with something that sounds like what should be there. It interpolates the surrounding audio and the click just vanishes. In Audacity, it's less elegant—you highlight the region, open the Click Removal effect, set the threshold somewhere between 10 and 20, and hope it catches the problem without eating your transients. I once set it to 50 and the entire drum track turned into oatmeal.
The noise and harshness problem requires a two-tool solution that I've run probably three hundred times by now. First, the Denoise plugin: I open the track in Audacity, find a section that's only noise—usually the intro or outro where the music hasn't started yet—select it, go to Effect → Noise Reduction → Get Noise Profile, then select the whole track and hit Apply with the reduction set to around 12-18 dB. The key is stopping before everything sounds like it's underwater. I've made that mistake. Your track should sound cleaner, not like it's being played through a pillow. Second, the EQ sweep for harshness: I load up a Parametric EQ in my DAW, create a narrow boost of about 10 dB, and slowly sweep it across the frequency spectrum from 2 kHz to 7 kHz while the track plays. When I hit the frequency where the harshness lives—and I'll know because it suddenly sounds like an icepick in my ear—I note the frequency, switch the boost to a cut of 2-3 dB, and leave it there. Common culprits: 3 kHz makes vocals sound nasal and brittle, 6 kHz is where the digital fizz lives, and 14-16 kHz is where you'll find a weird hissy hash that sounds like malfunctioning electronics.
The robotic warble is trickier because it's a moving target. Some artifact reduction tools in RX have specific settings for this, but the trick is to use them gently. I'll apply maybe 20% strength, listen, then bump it to 30%, listen again. If I go past 50%, the vocal starts sounding like a bad AI recreation of itself, which is ironic since that's what it already was. There's a point where you're just trading one artifact for another.
When a glitch is a one-time event—like a single static pop at the 1:23 mark that doesn't repeat—I don't bother with plugins. I just open the automation lane for volume in Ableton, find the exact frame where the glitch happens, and draw a tiny dip down to zero and back up over the span of maybe 20 milliseconds. The glitch disappears into the volume duck and nobody notices unless they're looking at the waveform.
A Deep Dive on the 'Deshimmer' Tool for Suno's Sparkle
Someone on GitHub got so annoyed with Suno's shimmer that they built a custom tool just to kill it. That's the level of frustration we're talking about. Deshimmer is a Python script that specifically hunts for those narrow, flickering high-frequency artifacts between 5-7 kHz—the ones that sound like digital birdies chirping over your mix—and suppresses them without turning your cymbals into cardboard. I ran it on a track that had shimmer so bad it sounded like the audio was being played through a wind chime, and the difference was immediate. The track didn't suddenly sound "better" in the sense of being more exciting, but it stopped sounding wrong, which in this case was a massive upgrade.
What makes it smart is that it doesn't just blanket-cut the frequency range. It builds a local baseline of what the frequencies in that range should look like, identifies outliers—the spikes that don't belong—and only attenuates those. It's the difference between removing a stain and burning the whole shirt. The tool comes with a Gradio UI that lets you load a file, tweak the parameters, and preview the results without touching the command line, which I appreciated because I can never remember the syntax for anything.
The key parameters: start-hz and end-hz define the shimmer zone—default is 5100-7200 Hz, which covers most of Suno's problem area. thr-db is the threshold for how sensitive the detection is; 8 dB means it only goes after stuff that's 8 dB louder than the local baseline. If you set it lower, it gets more aggressive, but you risk eating parts of your actual instruments. --slope controls how hard it attenuates the detected artifacts—0.6 is gentle, 1.0 is a hammer. I usually start at 0.6 and only push higher if the shimmer is still audible.
The tool has two features that keep it from destroying your track. Transient protection detects drum hits and sharp attacks by looking at energy flux—basically, if the audio suddenly gets louder, it backs off so your snare doesn't get processed into mush. Spectral flatness analysis helps it distinguish between noise (which has a flat, even spectrum) and music (which has peaks and valleys). If it sees a broadband musical event, it leaves it alone. And the write-diff option outputs a file containing only what was removed, so you can listen to the extracted artifacts and make sure the tool isn't accidentally pulling out pieces of your hi-hat. The first time I heard the diff file, it sounded like alien insects having a conversation. That was the shimmer, just sitting there the whole time.
Stage 2: In-Suno Strategies for Cleaner Generations
Spending three hours cleaning up a track made me realize I was treating the symptom instead of the disease. The real fix is convincing Suno to generate cleaner audio in the first place, which is less satisfying than wielding plugins but infinitely less tedious. The stems feature is non-negotiable at this point. When you click the three dots next to a song in Suno Studio and hit Get Stems, it splits your track into up to twelve separate channels. I worked on a vocal stem once that had a tiny bit of shimmer, fixed it in two minutes with a simple EQ cut, and bounced it back into the mix. Doing the same thing on the full stereo file would've been impossible without wrecking the guitars.
Metatags feel like voodoo, but they work. If the shimmer always starts at the second chorus, I go back into the lyrics and add [clean vocal] or [no reverb] right at that spot in the text. Suno reads those tags and adjusts its generation in real time. I've used [acoustic] to kill digital fizz and [dry mix] to reduce the smeared ambience that makes everything sound like it's drowning in a swimming pool. It doesn't work every time—sometimes the AI just ignores you—but when it works, it's like the difference between asking nicely and getting what you want versus having to fix it in post.
The simplest fix is the one I resisted for way too long: regeneration. Just hit the button again. Suno's generation is semi-random, and sometimes the AI just makes bad choices. I've regenerated the same prompt five times and gotten wildly different results—one version will have shimmer, one will have clipping, and one will be mysteriously clean. There's no skill involved, just patience and a willingness to admit that the first try isn't always the keeper.
Tweaking the style prompt also helps. If I ask for "epic orchestral" and get back a track that sounds like it was recorded inside a tin can, I'll change it to "clean studio orchestral" or "dry orchestral arrangement" and try again. The AI interprets "epic" as "add lots of reverb and high-frequency sparkle," which is exactly what I'm trying to avoid. Sometimes less is more, even when you're telling a robot what to do.
And for the love of your own sanity, download the WAV file instead of the MP3. The MP3 is already compressed, which means some of the audio data is gone, and when you try to process it, you're working with a photocopy of a photocopy. The WAV is uncompressed and gives you the full resolution to work with. I didn't think it mattered until I tried to denoise an MP3 and it fell apart like wet tissue paper. The WAV held up fine under the same processing.
Stage 3: Final Mastering Without Amplifying Artifacts
Mastering is where people who've spent hours cleaning a track accidentally destroy it in ten seconds by cranking a limiter too hard. I've done this. You get excited because the track finally sounds clean, you want it loud like the stuff on Spotify, so you push the limiter gain up and up, and suddenly all the hiss and harshness you spent the afternoon removing comes roaring back like you've just turned up the volume on everything you hate. Mastering makes things louder, which means it makes problems louder too. If there's a hidden artifact in your mix that was quiet enough to ignore, the limiter will find it and put it front and center.
The golden rule I wish someone had tattooed on my forehead: fix obvious mix problems first. If your track is clipping, if there's still harshness at 6 kHz, if the low end is a boomy mess—deal with that before you touch a mastering chain. Mastering is polish, not repair. I once tried to master a track that still had a click on the snare, thinking the compressor would somehow smooth it out. The compressor made it worse. The click became the loudest thing in the mix.
Before the limiter goes on, I do a pre-limiter cleanup pass. I check the waveform for any remaining clipping—those flat-topped peaks that look like someone took scissors to the audio—and fix them with a declip tool or just reduce the volume. I do one last EQ sweep to make sure there aren't any harsh frequencies hiding in the mix. I check the low end to make sure the bass isn't going to slam into the limiter and cause pumping. Only then do I add the limiter.
For limiter settings, I've learned to stop before my ears tell me to stop. I slowly increase the input gain on the limiter while listening for the moment when the hiss starts creeping back in, or the vocals start sounding metallic, or the cymbals turn into a wash of white noise. That's the ceiling. I don't go past that point, even if the track isn't as loud as I want it to be. Streaming platforms normalize everything anyway, so chasing loudness is a fool's game. I set the true-peak limiter to a ceiling of -1.0 dB, which leaves a little headroom for the conversion process when the file gets uploaded to Spotify or Apple Music. I learned about true-peak limiting after submitting a track that clipped on certain streaming services but not on my computer. Turns out sample-rate conversion can create peaks that weren't there in the original file. The -1.0 dB ceiling solves that.
The final step is the A/B testing ritual, which I do even when I'm sick of the track and want to be done. I export the master, then listen to it on my studio headphones, my cheap earbuds, my laptop speakers, my car stereo, and my phone speaker. Every system reveals something different. The headphones will tell me if there's harshness I missed. The phone speaker will tell me if the low end is too boomy or if the vocals are buried. The car stereo—the great equalizer—will tell me if the track actually works in the real world or if it only sounds good in my treated room. I've had masters that sounded perfect on my monitors and turned into a hissy mess on earbuds. That's when I go back, pull the limiter down a notch, and try again.
Quick-Reference: Your Suno Cleanup Toolkit
The professional option if you've got the budget or can catch it on sale: iZotope RX, which has spectral repair for painting over artifacts, a declip tool for fixing overloads, and voice denoise that's almost unsettlingly good. It's the gold standard, the thing you see in professional studios, and it costs about as much as a used guitar. Worth it if you're serious, overkill if you're just messing around.
The free powerhouse that punches way above its weight: Audacity, with click removal that actually works, noise reduction that's simple enough to not screw up, and a parametric EQ for hunting down harsh frequencies. I've cleaned dozens of tracks with nothing but Audacity and patience. It's not pretty, but it gets the job done.
Your existing DAW—whether that's Ableton Live, Logic Pro, or FL Studio—comes with parametric EQs, denoise plugins that range from decent to good, and automation tools for surgically removing one-off glitches. You probably already own this, so use it before spending money on anything else.
The Suno-specific tools that only exist because this problem is universal: Deshimmer for killing the shimmer without killing your cymbals, and Suno Studio itself for the Get Stems feature, which is the single most important button in the entire workflow.
The web-based tools I've seen people mention but haven't spent much time with: Sunofix and MixMasterAI, which are quick online solutions for artifact removal. Upload a file, let the algorithm do its thing, download the result. I'm skeptical of anything I can't control, but if you're in a hurry and don't want to learn a DAW, they might be worth a shot.
FAQ: Your Suno Artifact Questions Answered
The single most important step in this entire workflow is getting stems. I will die on this hill. Trying to fix a full stereo mix is like trying to unsalt a soup—you can kind of do it, but you're going to suffer and the result will never be as good as if you'd just seasoned it correctly in the first place. Stems let you isolate the problem, fix it without collateral damage, and bounce everything back together. It's the difference between surgery and a grenade.
Doing this on a phone is theoretically possible if by "doing this" you mean applying a basic EQ and calling it a day. For spectral repair, precise denoising, or any of the techniques that actually matter, you need a desktop computer with a proper DAW or audio editor. I've tried using mobile EQ apps, and they're fine for making a vocal brighter or a bass less muddy, but they won't let you hunt down a 6 kHz shimmer and kill it without also killing your hi-hats. The screen is too small, the controls are too clumsy, and the processing power isn't there.
Whether iZotope RX is worth the price for a hobbyist depends on how much you hate artifacts and how much disposable income you have. It's expensive—several hundred dollars unless you catch a sale—but it's the industry standard for a reason. The spectral repair tool alone is worth the price if you're doing this kind of cleanup regularly. That said, Audacity plus a careful hand with EQ can get you 80% of the way there for free. I'd recommend trying the free tools first, and if you find yourself wishing you had more control or better results, then consider RX. They offer a free trial, so you can test it on your worst track and see if it's worth the investment.
If your audio sounds dull or underwater after denoising, you used too much noise reduction. This is the most common mistake, and I've made it at least fifty times. The denoise plugin doesn't know the difference between noise and quiet musical details, so if you crank the threshold too high, it removes both. The fix: lower the threshold or the reduction amount, and only remove the most obvious noise. You don't need to eliminate every bit of hiss—just the stuff that's distracting. A little bit of noise floor is normal and even desirable; it makes the track sound like it was recorded by humans instead of being generated in a lab.
When the shimmer is part of the instrument sound and you need to remove it without ruining the instrument, you're in the surgical zone. This is where tools like Deshimmer or a dynamic EQ become essential. A static EQ cut will remove the shimmer but also remove the brightness of your cymbal or the air in your vocal. A dynamic EQ only cuts when the problem frequency crosses a certain threshold, so it can leave your instrument alone most of the time and only activate when the shimmer appears. Deshimmer does something similar—it identifies narrow outliers and suppresses them while leaving broadband musical content untouched. It's not perfect, but it's the best solution for cases where the artifact and the music are occupying the same frequency space.